
In the chaotic world of Fortnite, where building skills and quick reflexes reign supreme, the safe zone is a player’s best friend. Picture it: you’re dodging bullets and outsmarting opponents, only to realize the storm’s creeping in like an unwanted party guest. Understanding the dynamics of the safe zone can mean the difference between a glorious victory and a dramatic exit.
Navigating the ever-shrinking safe zone isn’t just about survival; it’s about strategy, timing, and maybe a little luck. Players who master this essential element can outlast their competition and claim that coveted Victory Royale. So grab your pickaxe and get ready to dive into the ins and outs of Fortnite’s safe zone, where every second counts and every decision could lead to glory—or an embarrassing dance in the storm.
Overview of Fortnite Safe Zone
The Fortnite safe zone plays a crucial role in gameplay. Its size decreases over time, forcing players to adapt quickly. Players must constantly monitor the map for the safe zone’s location. Engaging with the shrinking perimeter can enhance strategic positioning. They secure advantageous spots while driving opponents into less desirable areas.
Timing becomes essential when approaching the safe zone. High ground often offers a tactical advantage, allowing players to spot enemies from a distance. Knowledge of the safe zone’s timing can be the difference between defeat and success. Predictions about movement patterns help in planning attacks or retreating when necessary.
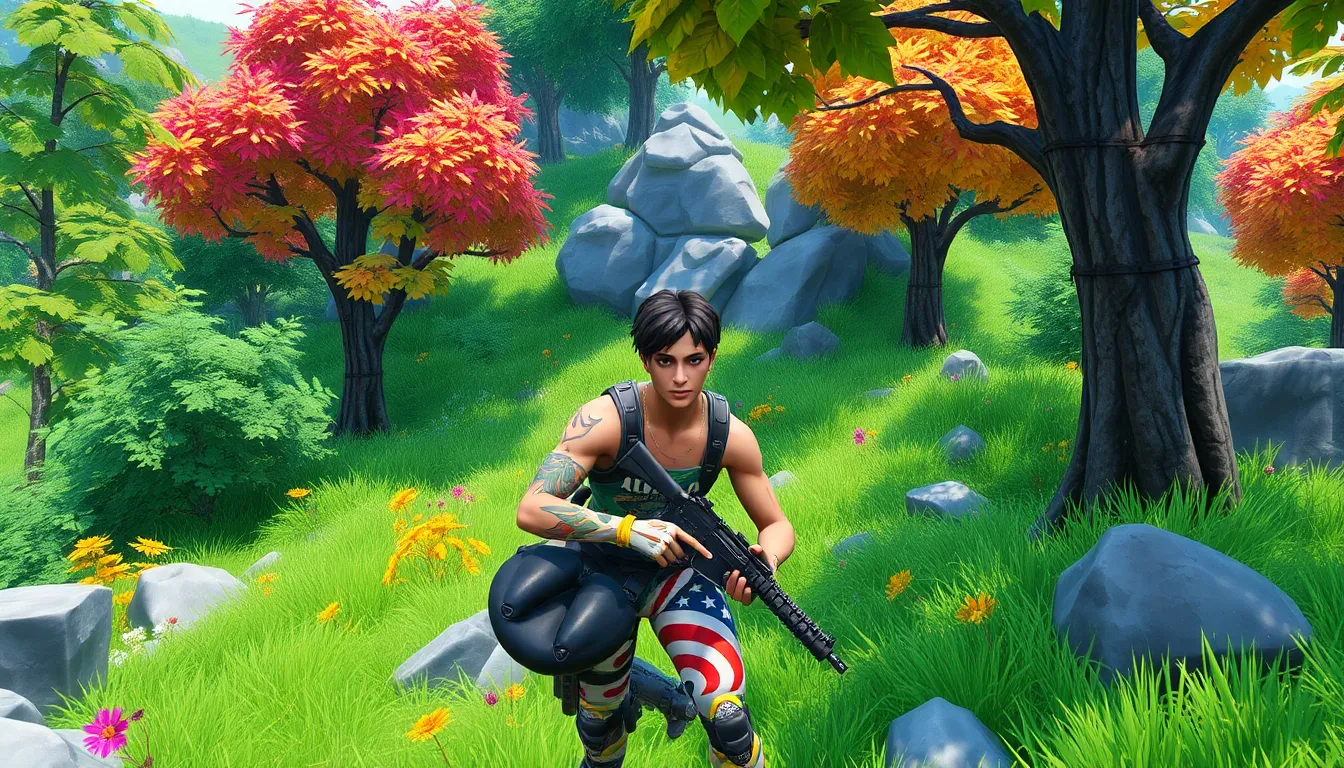
Cover options within the safe zone significantly impact player survival. Structures, trees, and other environmental features provide vital protection against enemy fire. Utilizing these elements effectively can prevent damage. Players gain access to essential resources by collecting gear and materials as they advance toward the safe zone.
Understanding the safe zone’s mechanics aids players in making informed decisions. Players who retain awareness of the storm’s damage can time health item usage effectively. Many players have found success by estimating safe zone boundaries, allowing for preemptive movements.
Lastly, the safe zone influences player interactions. Enemies forced into closer quarters increase combat frequency. Remaining aware of other players’ positions maintains a competitive edge. Mastering the dynamics of the safe zone elevates a player’s chance of securing a Victory Royale.
Importance of the Safe Zone in Gameplay
The safe zone plays a crucial role in Fortnite gameplay. Understanding its importance enhances a player’s ability to secure a Victory Royale.
Strategic Advantages
Prioritizing positioning within the safe zone provides significant strategic advantages. Covering areas closer to the center lowers the risk of being caught outside the zone. Players who reach the safe zone early can gather resources and survey the surrounding area. Monitoring enemy movements becomes easier when positioned advantageously. Additionally, controlling high ground offers a tactical edge, allowing players to spot opponents before they can react. Engaging in combat from a safe zone position increases the likelihood of outlasting opponents and minimizing health loss. Players develop effective strategies by integrating these advantages into their gameplay.
Safety Mechanisms
Safety mechanisms within the safe zone contribute to survival chances. Natural cover, such as trees, rocks, and buildings, provides protection from enemy fire. Utilizing these elements ensures players maintain health while engaging enemies. Players can also take advantage of healing items, knowing their safety improves when within the zone. Timing health item usage becomes essential, especially during intense firefights. Understanding the storm’s mechanics leads to better decision-making regarding movement and when to heal. Mastering these safety mechanisms allows players to navigate conflicts with greater confidence and resilience.
Tips for Staying in the Safe Zone
Staying in the safe zone requires skill and strategic thinking. Players can utilize several techniques to enhance their survival.
Map Awareness
Monitor the map frequently. Map awareness allows players to anticipate the movement of the safe zone and plan accordingly. Identify land features and nearby safe zones to find optimal routes. Recognizing locations of natural cover, like trees and hills, promotes better positioning. Players need to keep an eye on potential bottlenecks where they might encounter opponents. Being aware of the landscape enhances defensive strategies, providing advantages during close encounters. Understanding the shrinking perimeter gives players time to gather resources and decide on their next moves effectively.
Timing Your Movements
Timing movements is essential for maximizing survivability. Approach the safe zone as it begins to shrink, allowing for quicker entry without rushing. Watch for cues from the storm, such as changes in sound or visual effects. Players often find themselves at a disadvantage when entering late. Prioritize reaching the safe zone early to establish strategic positions and gather supplies. When engaging with opponents, timing attacks or retreats can lead to favorable outcomes. Staying aware of storm damage mechanics simplifies decisions about healing items and movement patterns, which are crucial for survival in the later stages of the game.
Common Mistakes to Avoid
Navigating the safe zone in Fortnite involves critical decision-making. Players often make common mistakes that can lead to defeat.
Ignoring the Zone Timer
Overlooking the zone timer creates unnecessary risks. Players should always keep an eye on the timer, as it indicates how much time remains before the safe zone shrinks. Failing to check the timer can lead to being caught outside the safe zone, resulting in damage from the storm. Taking timely actions to adjust positioning ensures players can stay ahead and avoid panic during gameplay. Regularly glancing at the timer helps maintain awareness and allows players to anticipate enemy movements.
Poor Positioning
Choosing the wrong position within the safe zone significantly impacts gameplay. Players who neglect to secure high ground often miss opportunities for tactical advantages. Flanking positions can provide invaluable cover against enemies, so recognizing these areas early makes a difference. Remaining too close to the edge of the safe zone can lead to being caught off-guard by opponents. Prioritizing strong defensive locations enhances survivability and encourages better strategic engagement with nearby enemies.
Enhancing Your Safe Zone Strategy
Understanding timing enhances a player’s safe zone strategy. Players who enter early can gather resources and scout enemy movements effectively. Maintaining map awareness supports anticipating the safe zone’s shift. Frequent checks on the map reveal optimal routes to the safe zone and natural cover opportunities for better positioning.
Maximizing advantage requires conscious movement into the safe zone. Approaching as the zone shrinks helps avoid frantic rushes and allows establishing strategic positions. Observing the zone timer prevents unnecessary risks associated with being outside the safe zone, which leads to storm damage.
Recognizing high ground importance significantly improves gameplay. Contesting high ground increases tactical flexibility and the chances of outlasting opponents. Players frequently overlook strong defensive spots that mitigate risks from enemy fire. Constructing structures within the safe zone supports better cover options, thus enhancing survival chances.
Staying informed about storm damage mechanics is crucial for decision-making. Monitoring health item usage becomes more straightforward when players understand the safe zone dynamics. Making timely adjustments to positioning can turn the tide of engagements, especially in late-game scenarios.
Adapting to common mistakes leads to more successful gameplay. Identifying poor positioning, like lingering too close to the edge, is key to avoiding dangerous encounters. Focusing on cover and safe zones helps create opportunities for combat engagement while maintaining distance from the storm.
Being proactive in safe zone strategies empowers players to navigate conflicts effectively. It elevates their chances of securing a Victory Royale while offering greater resilience throughout the match.
Mastering the dynamics of the safe zone is essential for any Fortnite player aiming for success. By honing skills in navigation timing and positioning players can significantly improve their chances of survival. Understanding the mechanics of the safe zone and utilizing cover effectively allows for strategic advantages in combat situations.
Staying aware of the map and the storm’s movements fosters better decision-making and resource management. Players who adapt to the challenges presented by the shrinking safe zone can outmaneuver opponents and secure favorable positions. With practice and focus on these strategies players can confidently pursue Victory Royales and enhance their overall gameplay experience.


